Installing metal roofing over plywood is a popular choice for many homeowners. Metal roofing is durable, long lasting, and looks great. It’s also a great way to add extra insulation to your home. But, before you begin, it’s important to understand the process and make sure you’re taking the proper steps. Here’s how to install metal roofing over plywood.
1. Prepare the Surface
The first step of installing metal roofing over plywood is to properly prepare the surface. Begin by removing any existing roofing material and debris, and then inspect the plywood for signs of rot or damage.

If you find any, replace that section of plywood before proceeding. Additionally, make sure the plywood is securely attached to the roof. If it’s not, use screws and washers to properly secure it.
2. Install Felt Paper
The next step is to install felt paper. Felt paper helps to protect the plywood from moisture and helps prevent leaks. To install felt paper, start at the bottom of the roof and work your way up. Use nails or staples to secure the felt paper to the plywood.
3. Install the Metal Sheeting
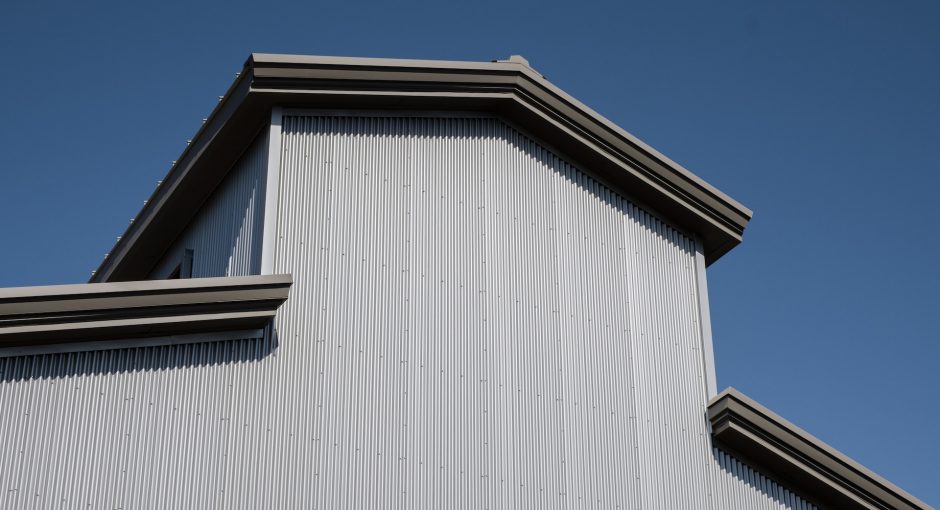
Once the felt paper is in place, it’s time to install the metal sheeting. Start at the bottom of the roof and work your way up.

Install the metal sheeting so that the overlapping edges are flush with each other. You can use nails or screws to secure the sheeting to the plywood. Make sure to use corrosion-resistant fasteners.
4. Install the Trim
The last step is to install the trim. Trim is used to cover the edges of the metal sheeting and give the roof a finished look. To install the trim, start at the bottom of the roof and work your way up. Use nails or screws to secure the trim to the plywood.
Installing metal roofing over plywood is a great way to improve the look of your home and provide extra insulation. But, it’s important to take the time to properly prepare the surface, install felt paper, and install the metal sheeting and trim. By following these steps, you can ensure that your metal roof will last for years to come.

