
Installing solar panels on your roof is a great way to go green and reduce energy costs. But the process can be intimidating if you’re unfamiliar with the technology. Here’s a step-by-step guide to help you install solar panels on your roof.
Step 1: Assess Your Roof
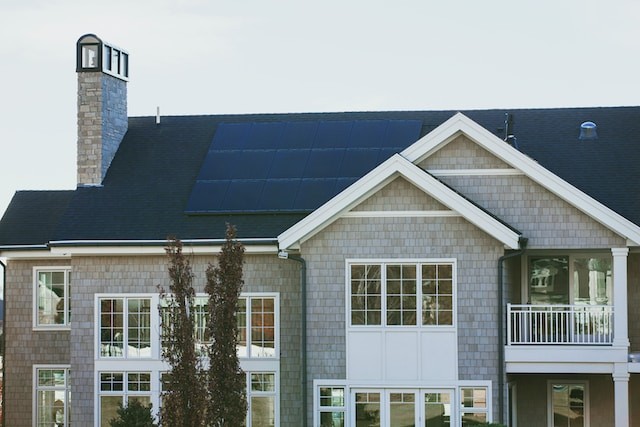
Before you begin installing solar panels, it’s important to assess your roof’s condition. Make sure the roof is in good condition and is structurally sound enough to support the weight of the solar panels.
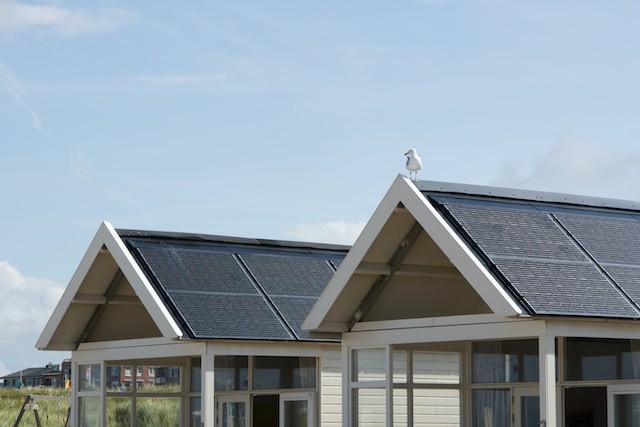
The best roofs for solar installations are south- or west-facing, and should have a pitch of at least 10 degrees. Make sure there is no shading from trees or other buildings and that the roof doesn’t receive too much sun.
Step 2: Choose a Solar Panel System
Once you’ve assessed your roof and determined that it’s suitable for solar panel installation, it’s time to choose a solar panel system. There are a variety of solar panel systems available, so it’s important to research the options and choose the one that best suits your needs. Consider the size of the system, the type of panels you want to use, and what type of mounting system you prefer.
Step 3: Install the Mounting System
Once you’ve chosen your solar panel system, it’s time to install the mounting system. The mounting system will provide support for the solar panels and keep them securely in place. Most solar panel systems come with the necessary mounting hardware, but it’s important to make sure the mounting system is installed correctly to ensure the solar panels are secure.
Step 4: Connect the Solar Panels
Once the mounting system is installed, it’s time to connect the solar panels. This requires specific wiring and cabling, so it’s important to read the instructions carefully and follow them closely. Make sure all the connections are secure to ensure the system is safe and efficient.
Step 5: Install the Inverter and Battery
The final step in installing solar panels on your roof is to install the inverter and battery. The inverter is responsible for converting the solar energy into usable electricity, and the battery will store any excess energy. Make sure the inverter and battery are installed correctly and securely to ensure maximum efficiency.
Installing solar panels on your roof can be a daunting task, but with the right preparation and know-how, it can be a rewarding experience. By following these steps, you can ensure your solar panel system is installed safely and securely.